Panel
Bend-Tech 7x Wiki :: Assembly :: Edit :: Panel
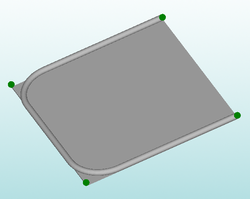
In the panel tab, plate panels can be created by defining their location on an assembly.
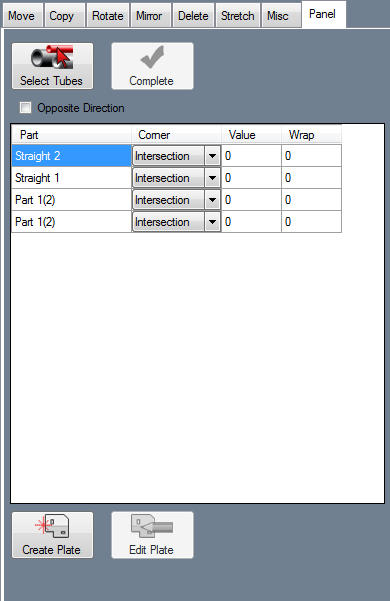
To create a panel, first click the Select Tubes button ![]() . Next, select sections of tube on the assembly that are on the same plane to define the outline of the panel (a minimum of 2 tubes is required). When selecting tubes, be sure to select the starting end of the tube. Once all the necessary tubes are selected, click the Complete button.
. Next, select sections of tube on the assembly that are on the same plane to define the outline of the panel (a minimum of 2 tubes is required). When selecting tubes, be sure to select the starting end of the tube. Once all the necessary tubes are selected, click the Complete button. ![]()
The parts will then be listed in the chart below. The corner and value specifications will need to be supplied for the corners and the wrap value will need to be given for the edges of the panel.
Once these values/options have been defined, click the Create Plate button. ![]() Give the panel and name and choose a plate material. Click the OK button to create the panel. Once a part is created, it is added to the parts list in the Main tab.
Give the panel and name and choose a plate material. Click the OK button to create the panel. Once a part is created, it is added to the parts list in the Main tab.
Click the Opposite Direction button to flip the side of the tube that the panel is placed upon.
To adjust the panel after it has been created, just change any of the options and click the Create Plate button to update the panel.
Corner
- Connect: The corner of the panel will be flat, connecting the ends of the straight lengths on either side of the bend.
- Intersection: The corner of the panel will meet at the outside intersections of the tubes, at the apex.
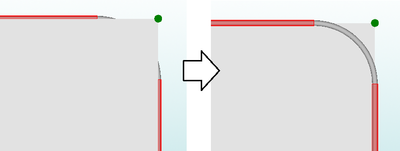
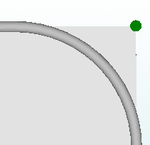
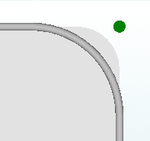
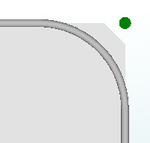
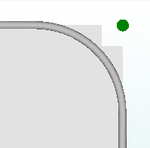
- Radius: The corner of the panel will be rounded according the the radius value given in the Value field.
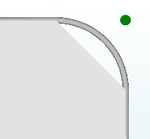
- Chamfer: The corner of the panel will be cut diagonally back from the corner the distance provided in the Value field.
- Notch: The corner of the panel will have a 90 degree notch cut out of it. The size of the notch is determined by the size provided in the Value field.
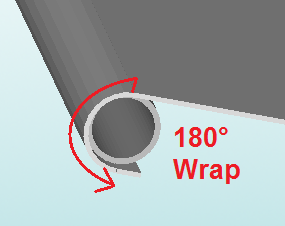
The Wrap value determines how far the material will overlap the edge of the tube. This value is given in terms of degrees.
