Difference between revisions of "Dynatorch Dragon Guide"
| Line 1: | Line 1: | ||
| − | <h1 | + | <h1>Dynatorch Dragon Guide</h1> |
| − | <h2 | + | <h2>Overview</h2> |
'''After receiving the Dragon software, all users will have to register the product with their personal identification along with a Dragon Serial number and Keycode (provided).''' | '''After receiving the Dragon software, all users will have to register the product with their personal identification along with a Dragon Serial number and Keycode (provided).''' | ||
Revision as of 14:14, 6 March 2017
Dynatorch Dragon Guide
Overview
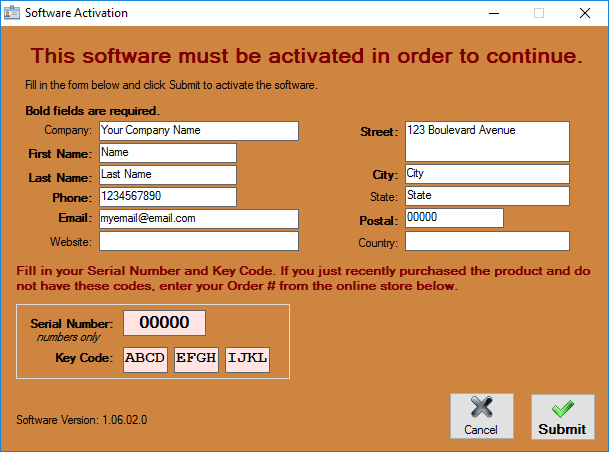
After receiving the Dragon software, all users will have to register the product with their personal identification along with a Dragon Serial number and Keycode (provided).
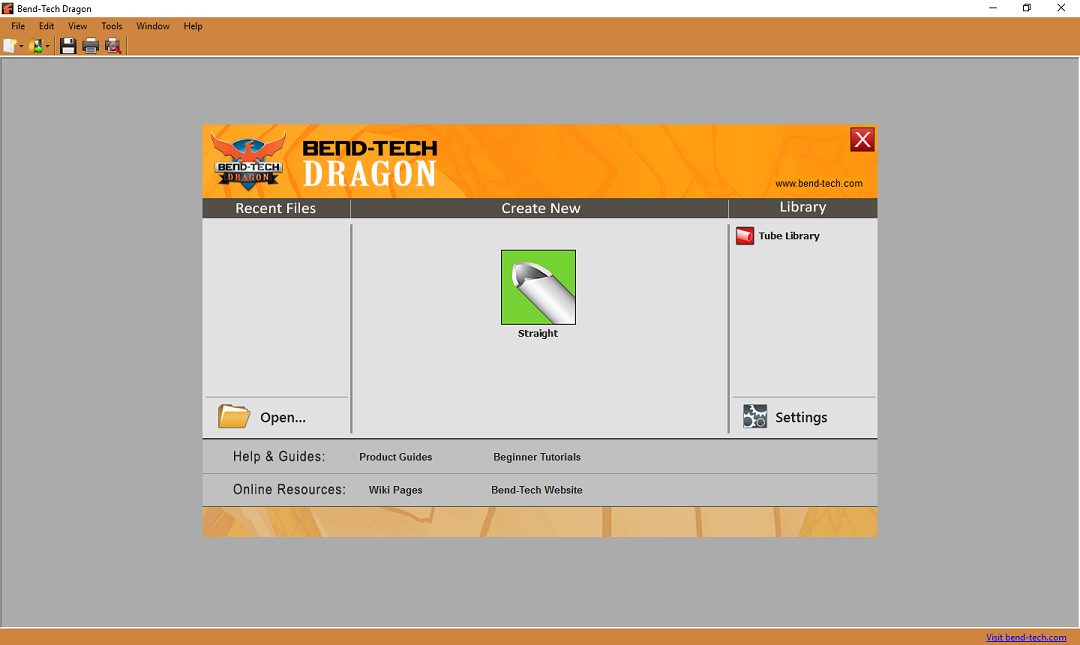
Upon initial startup, the software will display a splash screen and open to the Dragon Task Menu. Here, you will have the options from the Main Menu Bar above along with creating straight parts with the Straight Part coping designer.
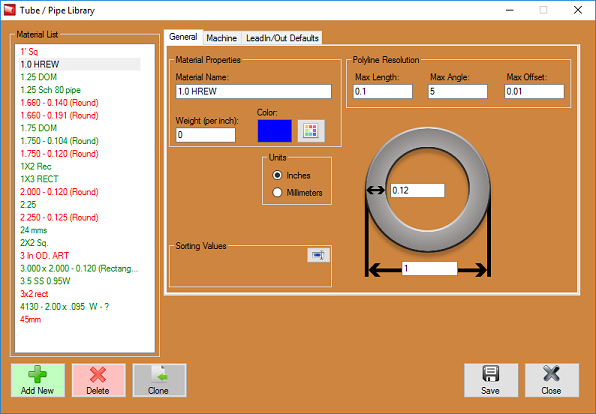
We first advise you to enter material information into the Tube Library (located to the right of the Task Menu screen) in order to designate what material you will be working with on a particular job. Only after a material is added to the Tube Library can you create a part in the Straight Part coping designer.


