Dragon Bent Part Tutorial
Things To Know
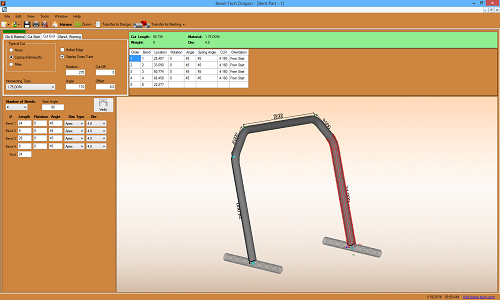
- This tutorial will step you through the process of creating a bent part design in Bend-Tech Dragon and show you the possible choices for where to take it next depending on your needs. As you walk through this tutorial, procedures are designed based on your knowledge of earlier procedures. Because of this, it is very important that you carefully step through this guide, understanding everything along the way.
Tutorial
1. From the Bend-Tech Dragon start up screen, click on the Bent Part  button to open the bent part interface.
3. In order to start a design, select a material from the material drop down menu ![]() and a die from the die drop down menu
and a die from the die drop down menu ![]() to the left. I'll be using the default 1.75 DOM material and a 5.0 radius die but it doesn't matter what you choose for this tutorial.
to the left. I'll be using the default 1.75 DOM material and a 5.0 radius die but it doesn't matter what you choose for this tutorial.
4. Next, select 4 from the Number of Bends ![]() drop down menu to the far left.
drop down menu to the far left.
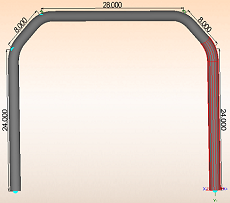
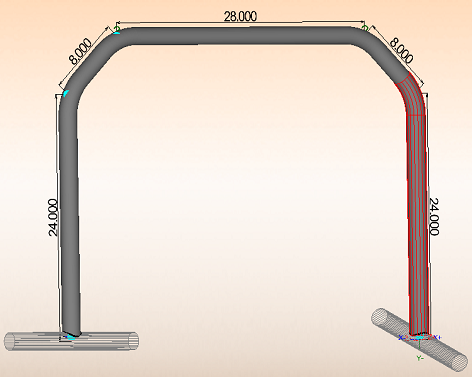
6. Make sure to also enter 90 into the Start Angle ![]() value field. This will cause the design in the display screen to rotate 90 degrees and stand straight up.
value field. This will cause the design in the display screen to rotate 90 degrees and stand straight up.
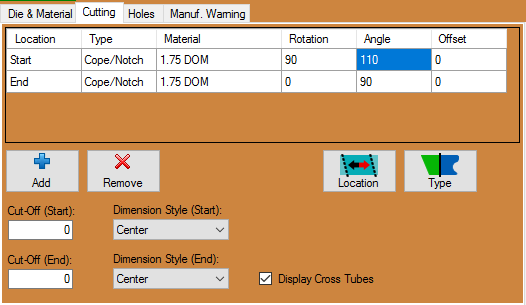
7. Next, select the Cutting ![]() tab from the upper left hand corner, click the Add
tab from the upper left hand corner, click the Add ![]() button twice and check the Display Cross Tubes
button twice and check the Display Cross Tubes ![]() checkbox.
checkbox.
 value field and 110 into the Angle
  value field.
9. Now, select the Cut End ![]() tab, select the Coping (Fishmouth)
tab, select the Coping (Fishmouth) ![]() option again and check the Display Cross Tube
option again and check the Display Cross Tube ![]() checkbox.
checkbox.
10. Finally, enter 270 into the Rotation  value field and 110 into the Angle
  value field.
Transferring
- After applying all of the changes to our bent part, we are free to select the desired option for transferring the part out.
- You may Transfer to Design
 for adding further geometry to the part and assigning actions before sending it to the machine, or you may Transfer to Nesting
  if you'd like the current part to be added to a nesting project without altering the part further.
- See the Dragon Guide to help you decide where to go from here.
