Dragon Straight Part Tutorial
Dragon Straight Part Tutorial 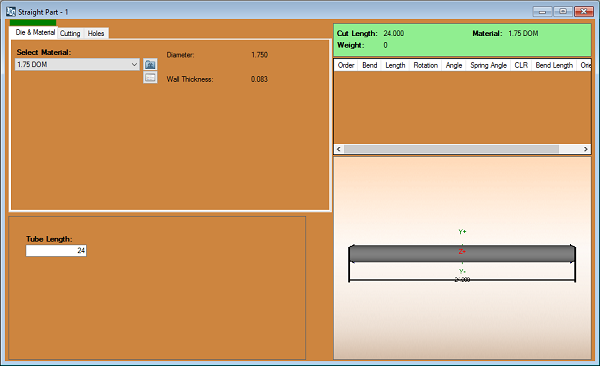

Things To Know
- This tutorial will step you through the process of creating a straight design in Bend-Tech Dragon and show you the possible choices for where to take it next depending on your needs. As you walk through this tutorial, procedures are designed based on your knowledge of earlier procedures. Because of this, it is very important that you carefully step through this guide, understanding everything along the way.
Tutorial
1. From the Bend-Tech Dragon start up screen, click on the Straight .png) button to open the straight part interface.
button to open the straight part interface.
2. Now, maximize the screen ![]() .
.
3. Next, select the Tube Length value field ![]() and enter the number 24. The straight tube should appear below in the display area.
and enter the number 24. The straight tube should appear below in the display area.

4. From here, check both Display Cross Tube ![]() checkboxes on either side of the Tube Length value field.
checkboxes on either side of the Tube Length value field.

5. Now, type in 110 into both Angle  value fields. This will adjust the angle of the copes as shown in the display area.

6.