Importing a DXF File
In this section, we will show you how to import a .dxf file into Bend-Tech and send it to either the "Custom 3D" or the "XYZ" interface.
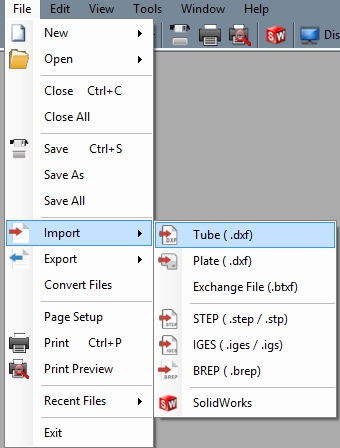
1) Start by selecting "File", "Import", then "Tube (.dxf)".
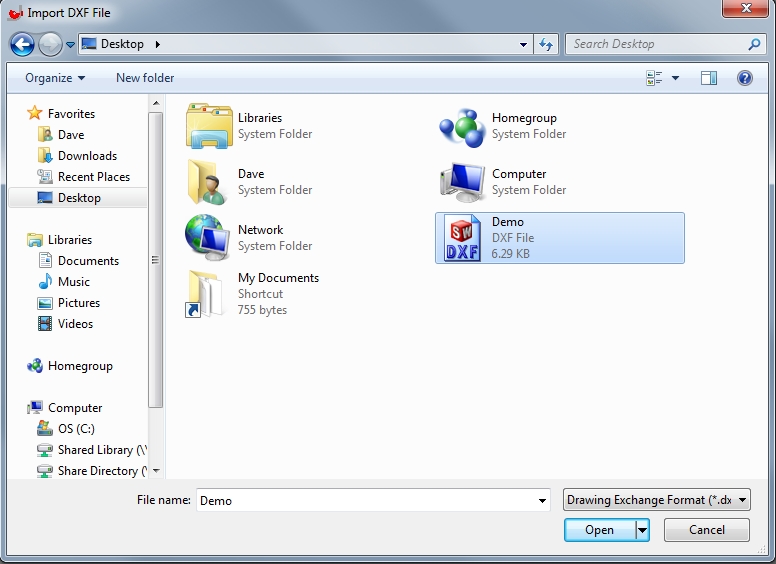
2) The "import dxf file" window will appear. Find the dxf file you wish to import. In this example, we will use the dxf file we saved in the Exporting a DXF File tutorial which we called "Demo.dxf". Then click "Open" or double-click the file name.
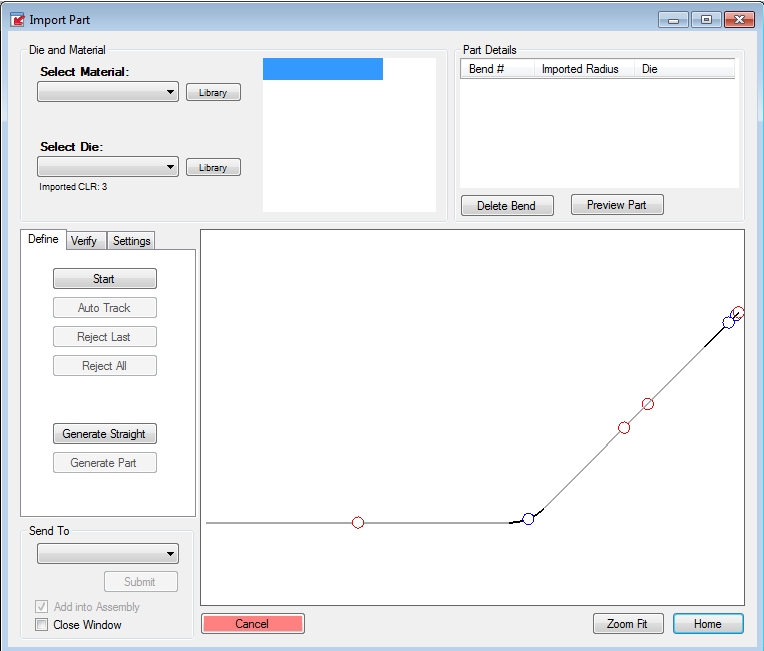
3) Your window should look like this:
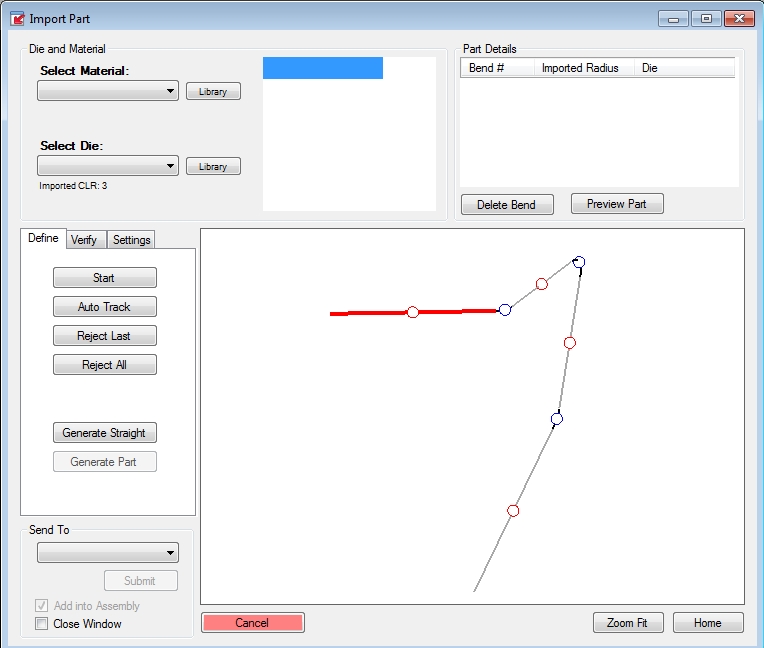
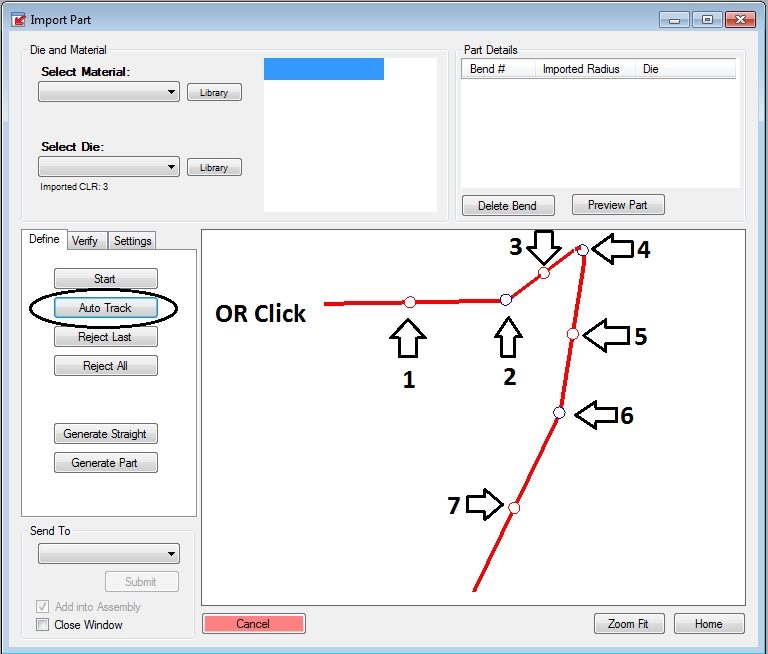
4) From here we need to "define" the part in order to send it to the "Custom 3D" or "XYZ" interface. We need to make sure we select each portion of the part in the order we want them transfered to the other interfaces. Rotate and/or move the part preview so it looks similar to the image below. Click "Start" and select the upper, left most pick point.
5) Then you can either select "Auto Track", or click each pick point associated with the straight portions of the part in order.
If you choose to select the pick points manually and happen to make a mistake, you can start over by clicking the "Reject All Features" button, or clear the last selection by clicking the "Reject Last Feature" button. Both are located immediately below the "Auto Track" button.
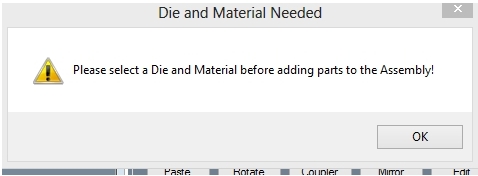
6) Once the selections are complete and the part is highlighted, click the "Generate Part" button located below the "Reject All Features" button. The following window may appear:
If it does, go to the top left corner of the window and select a material from the drop down menu. It is also a good idea to choose a die at this point as well.
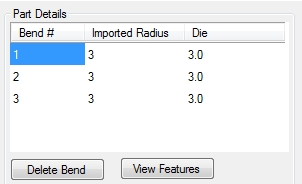
7) At this point, the bend information should be generated in the Part Details chart in the top right corner.
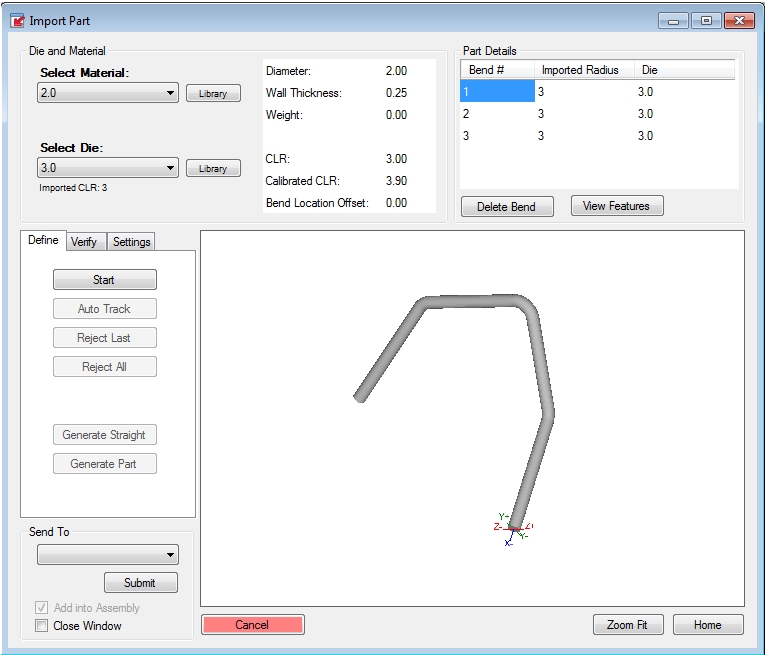
8) Click the "Preview Part" button to see a 3D shaded model of the part. Note: Once this button is clicked, it will change to "View Features". It can be used to toggle between the shaded model and the lines/features of the part.
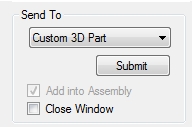
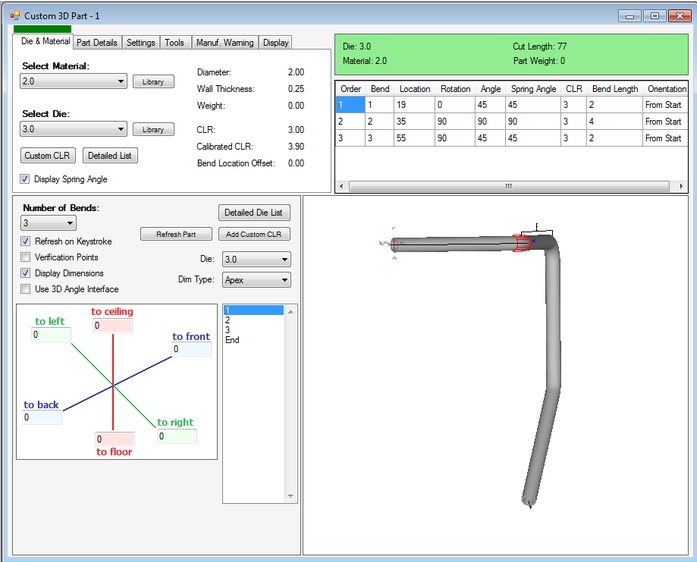
9) In the bottom left corner, click the drop down menu below "Send Part To" and select "Custom 3D Part". Click "Submit" to send it to the Custom 3D part interface.
