Difference between revisions of "Dragon Diamond Notch Bridging Tutorial"
| Line 8: | Line 8: | ||
==Tutorial== | ==Tutorial== | ||
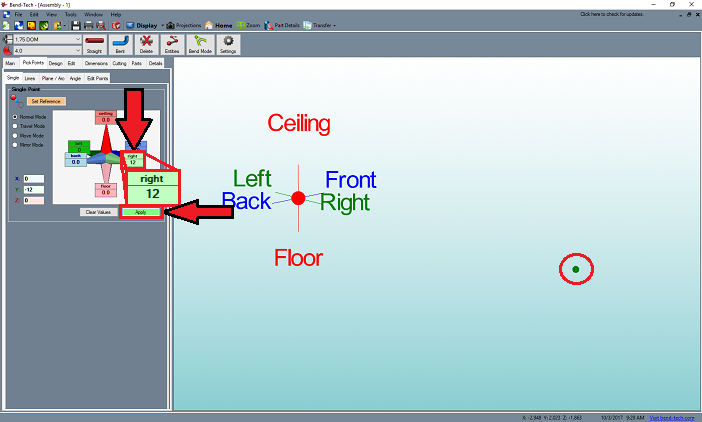
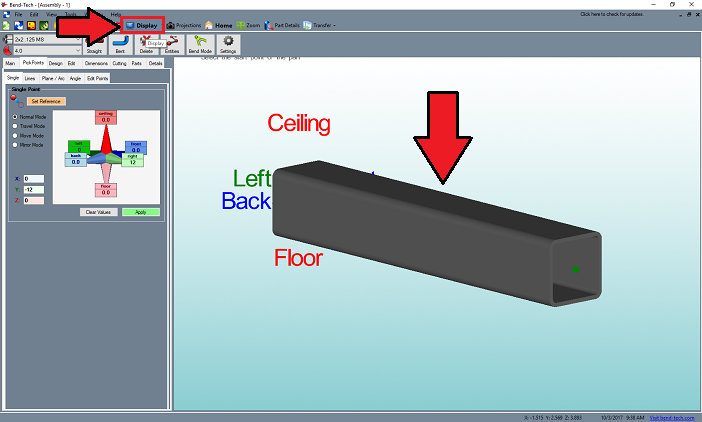
| + | [[File:DNB1.png]] | ||
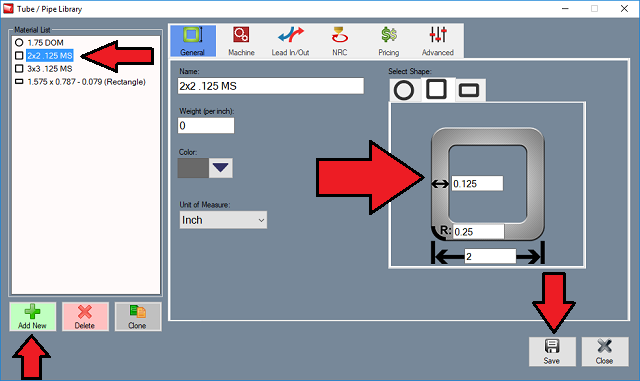
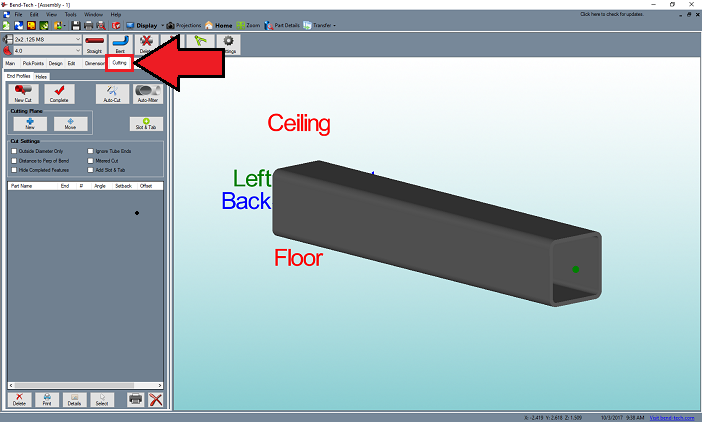
| + | [[File:DNB2.png]] | ||
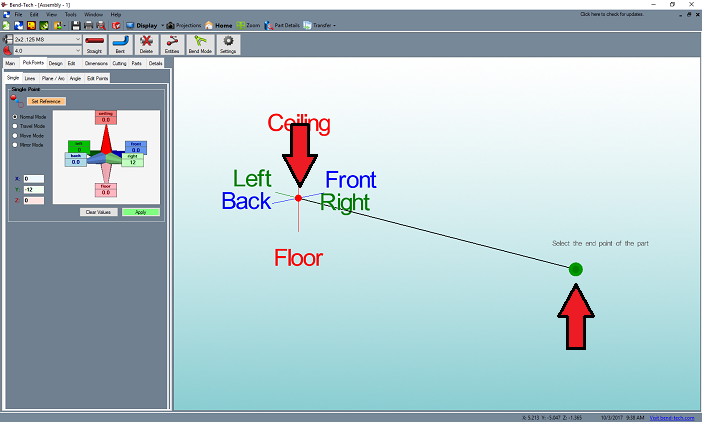
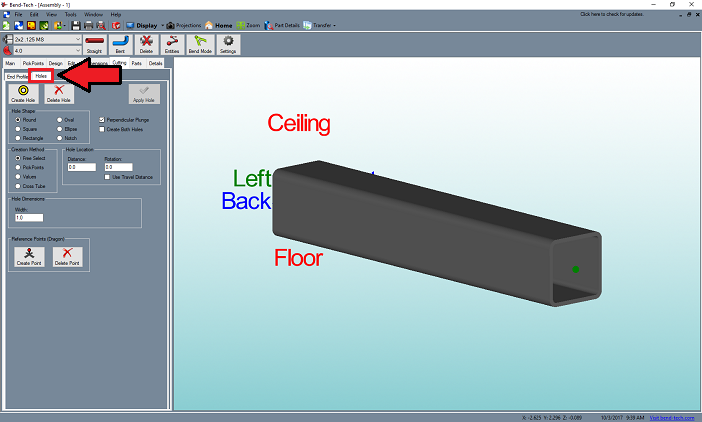
| + | [[File:DNB3.png]] | ||
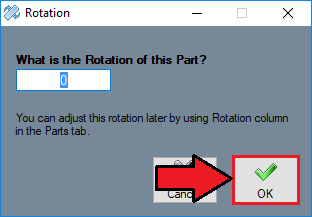
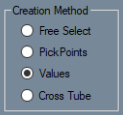
| + | [[File:DNB4.png]] | ||
| + | [[File:DNB5.png]] | ||
| + | [[File:DNB6.png]] | ||
| + | [[File:DNB7.png]] | ||
| + | [[File:DNB8.png]] | ||
| + | [[File:DNB9.png]] | ||
| + | [[File:DNB10.png]] | ||
| + | [[File:DNB11.png]] | ||
| + | [[File:DNB12.png]] | ||
| + | [[File:DNB13.png]] | ||
| + | [[File:DNB14.png]] | ||
| + | [[File:DNB15.png]] | ||
| + | [[File:DNB16.png]] | ||
| + | [[File:DNB17.png]] | ||
Revision as of 09:05, 3 October 2017
Dragon Diamond Notch Bridging Tutorial
Things To Know
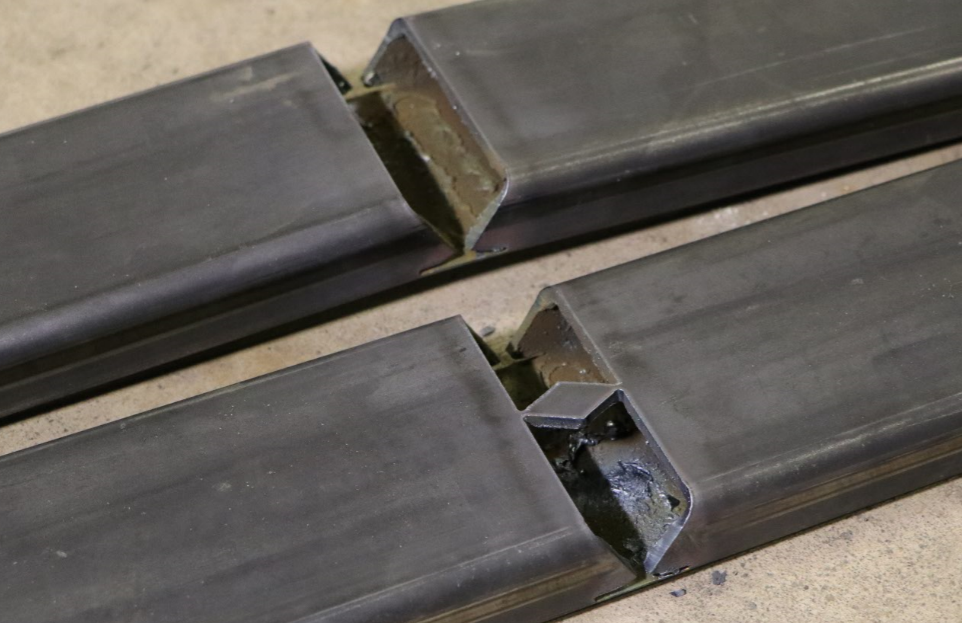
- This tutorial will step you through the process of creating a straight design in Bend-Tech Dragon CAD, add a notch cutout and show you where to take it next in order to add a notch bridge . As you walk through this tutorial, procedures are designed based on your knowledge of earlier procedures. Because of this, it is very important that you carefully step through this guide, understanding everything along the way.
