Difference between revisions of "Tube to Assembly Transfer"
| Line 26: | Line 26: | ||
===Change Coupler=== | ===Change Coupler=== | ||
| + | [[File:Transfer_change_coupler.png]] | ||
Revision as of 16:52, 26 January 2015
"UNDER CONSTRUCTION: THANK YOU FOR YOUR PATIENCE."
Contents
Transfer Interface
When transferring a single part from any tube designer to the Assembly designer, the user can refer to this guide for assistance.
The Transfer Menu
When transferring a part to Assembly, select the part from the display area, or from the part list and select the "Transfer Drop Down Menu" ![]() at the top of the screen on the "Icon Menu Bar".
at the top of the screen on the "Icon Menu Bar".
From there, the options that are available include the "New Assembly" option, or the "Existing Assembly" option. Select the option that corresponds with the desired assembly project to begin the transferring process.
Prepare for Assembly
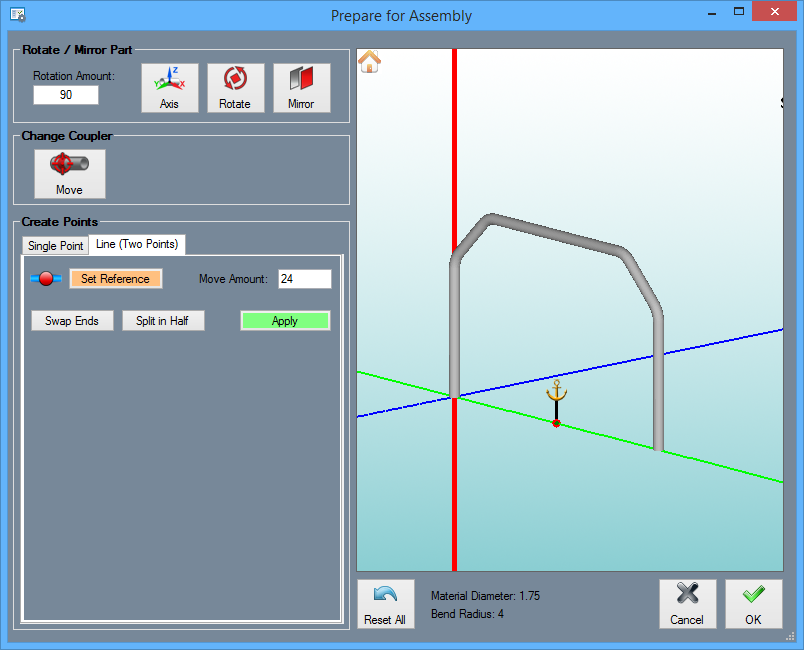
The "Prepare for Assembly" window was created so that users have the options to rotate the part to any desired orientation around any selected axis, mirror the part around any selected axis, and assign a coupler location using either the center of the axes (by default) or by first creating a new Pickpoint where the coupler can be placed.
Rotation Rotate / Mirror Part
The "Rotation Amount" ![]() value field is where the user can type in the degree of rotation that the part will be moved. every time the "Rotate" button is clicked.
value field is where the user can type in the degree of rotation that the part will be moved. every time the "Rotate" button is clicked.
Select the "Axis"  button and then click the axis in the display area that the part is going to rotate around.
Click the "Rotate"  button to rotate the part around the selected axis. Every time you click this button, the part will rotate by the degree typed into the "Rotate Amount" field.
Select the "Mirror"  button to mirror the part to the other side of the selected axis.


